Sparkled Beauty

I Live to Shine

1/29/2015

Kiss InstaWave

Posted by Halifax @ Sparkled Beauty

Years into learning about makeup, I still know nothing about doing hair :)

I was excited to receive a Kiss InstaWave to review, as it promises to do most of the hard work of curling my hair for me.

Now InstaWave is an automatic curler that creates natural curls with the touch of a button. On top of that, it is supposed to work with either hand, all hair types, styled from any possible positions.

First impression: an interesting looking hair tool, isn't it?

The barrel has Ceramic Ionic technology - ceramic particles enhance durability while the gentle infrared heat and negative ions reduces frizz and damage.

Maximum temperature reaches 420F/ 215C, with automatic shutoff after 90 minutes. Safety first!

Instawave has the obvious on/off button with two heat settings (low for loose curls and high for tighter curls).

The light indicator at the top of the white handle turns from red (when you plug in the Instawave) to blue (when it is ready to use). In between the on/off button and the light indicator is the button to control the direction the Curl Dial turns (left/ right).

A closer look on the Curl Dial - the moving part that wraps your hair on the barrel for you.

The big tab on it helps holding the hair in place, and the 4 prongs prevent it from tangling while wrapping around.

This is where lots of practice needed, at least for me. The right amount of hair for each section and the placement of it are crucial for a good wrap around the barrel. I struggled a few times when the hair just did not want to wrap in.

A trial run with Squirt's hair:
- Heat setting at low,
- Hold the InstaWave vertically (important), place a small section of hair in front of the barrel, hit left turn button
- Once the hair is wrapped completely on the barrel, hold 7-10 seconds and pull the InstaWave straight down to release the hair.

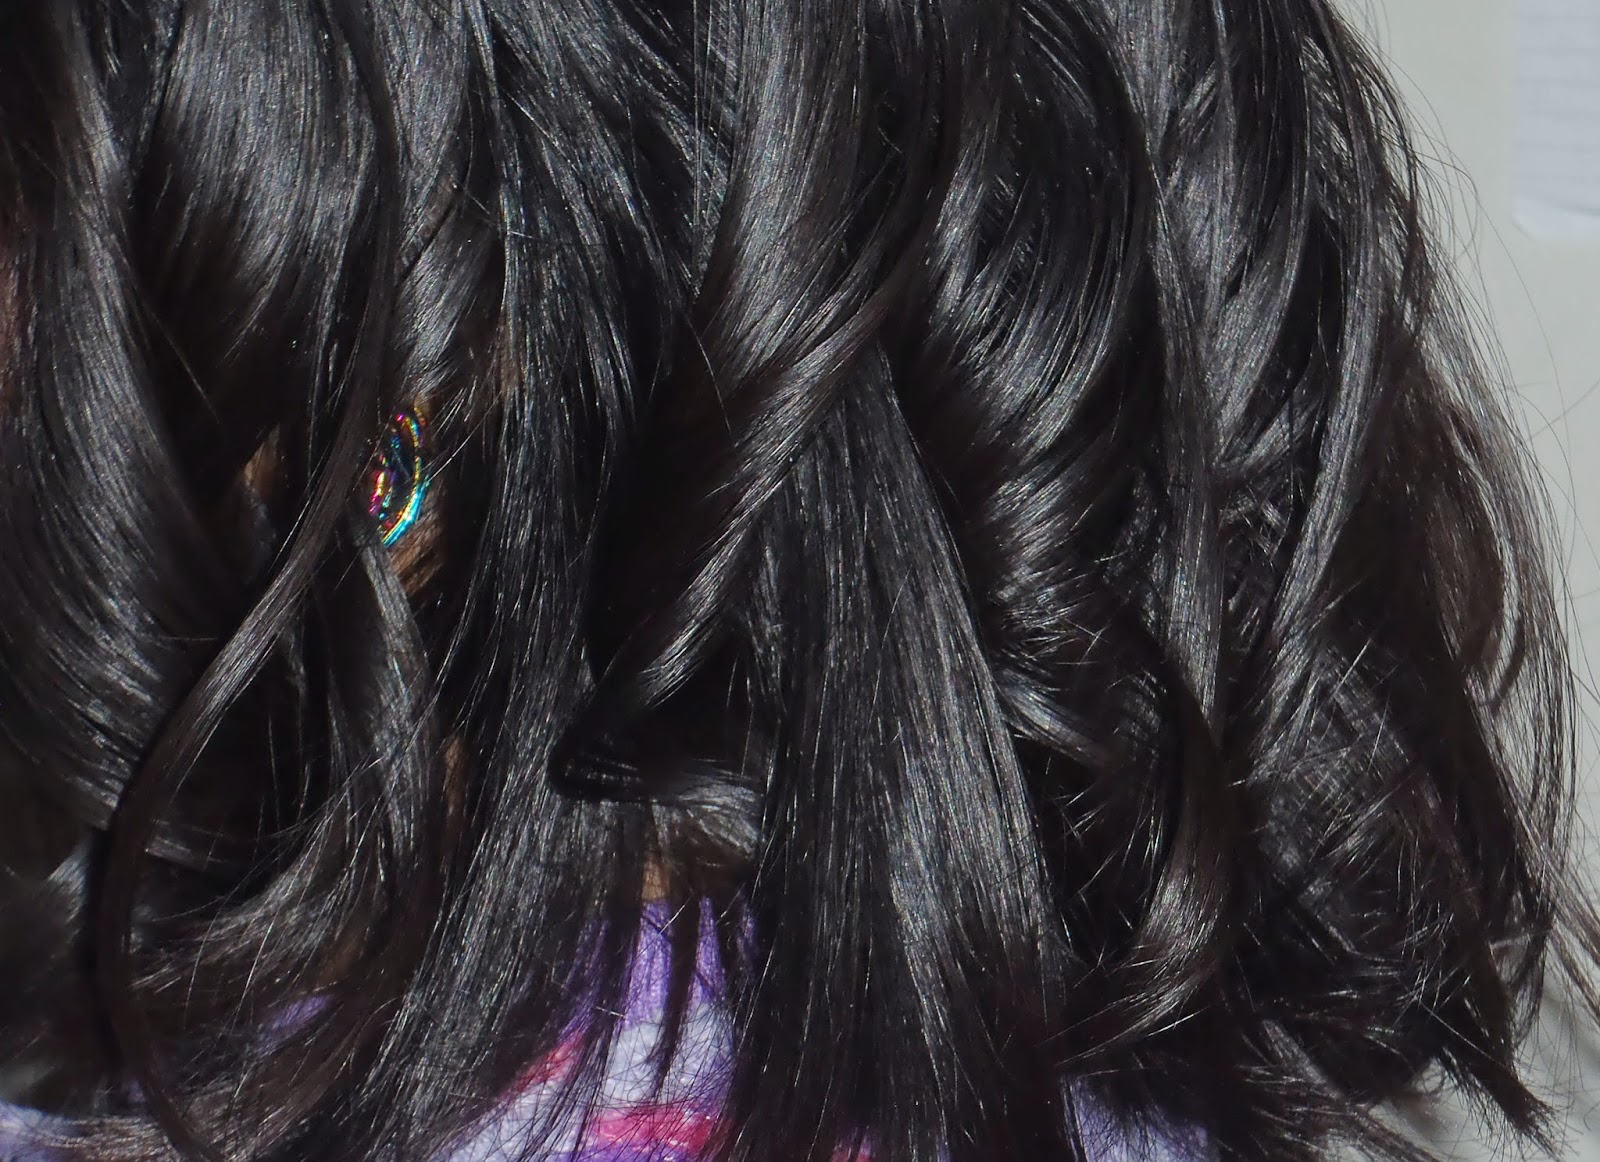
 Squirt has a lot of hair (jealous!), so I only did the top layer for show. The curls are beautiful when the hair agrees to wrap :)

I like the fact that my fingers do not come close to the hot barrel (a risk that always scares me with hot tools). I determine to get better at using the Instawave as it does come in handy.

Kiss Instawave is available now, retails around $70 at Walmart.

Here's the video to show you how it works visually :)


2/27/2014

NOTD: Kiss Top coat trio

Posted by Halifax @ Sparkled Beauty

Another Kiss kit I received for review, this is the Top coat trio with Glossy, Matte and Shimmer Effect top coats. Just like in the Gradation kit, the bottles are 0.2oz/ 6ml each, very travel friendly.

On the first try, I applied the top coats on a nail colour I wore that day.

Before (left): Rainbow Honey Apple Kid from the Summer of 199x collection, a beautiful hot pink with shimmers. After (right): Gloss Effect on index, Matte Effect on middle and Shimmer Effect on ring and pinky fingers.

Since the polish already has some shimmers, the Shimmer Effect top coat did not make much of a difference and looked similar to the Gloss Effect. The Matte Effect is quite noticeable but unfortunately only lasted a day as my middle finger started looking like the rest on day 2.

Second try, with a dark shade - Essence Chic Reloaded. Same top coat placement above, but both pics are for the after this time.

The Matte Effect top coat gave Chic Reloaded a wax/ semi-matte finish, while the Shimmer Effect gives off a pretty pink sheen.

I'd say the Shimmer Effect works the best among the three top coats but the effects depend a lot on the base colour. The trio is convenient to travel with, to serve whatever mood you have for your nail finish, but for daily use, I would reach for better top coats.

1/16/2014

NOTD: Kiss Gradation kit

Posted by Halifax @ Sparkled Beauty

When time is an essence, a kit like Kiss Gradation Polishes would make a lot of sense. Check out Exposure, the Gold kit I received for review.

If you haven't guessed already, the kit contains 3 polishes (0.2oz/ 6ml each) in the same family colour, with different opacity and finishes to create a gradation effect on your nails with less guess work.

I follow the instruction included in the back of the box, and in the booklet inside.

This is the first step - Apply 2 coats of "Step 1" polish, let it dry. This off-white shade with gold shimmers is quite sheer, meant to give your nails some definition but not much colour, a good base for other shades to go on after.

Step 2: Apply 1 coat of "Step 2" polish on only the tip (about 1/3) of the nails. This shade, a shimmery gold, has much better coverage. It is opaque in one coat.

Since Step 3 directly follows Step 2 without allowing the polish to dry, I did not stop to take pics.

Here is what I got after Step 3 - Apply 1 coat of "Step 3" polish on the top half of the nails, let it dry completely. Then repeat the steps on the other hand.

This shade is a glittery full house, jazzes up the mani with good amount of darker gold shimmers and glitter pieces. As always, dabbing motion offers good glitter density on the nails.

I found myself liking this look more than I thought I would. While the concept is not new, like I said, a kit saves time, also convenient to travel with. The shades do what they are intended for quite well and look good together.


The little booklet inside the box is not really necessary, other than being a reference source for non English speakers (the steps are printed in another 11 languages).

If gold is not your thing, there are 3 other Gradation kits made by Kiss - Film Noir (black), Big Break (sky blue) and Freeze Frame (pink), retail around $10.97 each.

10/31/2013

NOTD: Kiss Black Cat

Posted by Halifax @ Sparkled Beauty

Happy Halloween, everyone! Black/ silver cats and I are hanging out today :)

This is Kiss Nail dress in Black Cat, my first attempt with nail stickers/ strips. I always like the fancy look of them but were intimidated at the same time. So today is the day I try.

The claims of lasting up to a week and being "On in minutes, Off in seconds without remover" are impressive. I only have them on for a day, can't confirm the wear or removal yet but I can tell you about their application :)

Instructions say: Select the size that fit the nail, apply near (not on top off) the cuticle, smooth away from the center. Fold down over the edge then file the excess. There are 28 strips for tips and toes - 6 are really big (for big toes/ thumbs), the other 22 are in various sizes.

With this Black Cat design, the set comes in 2 different colour tones (black base, silver cat, silver stars vs. orange base, black cat, white stars). Naturally, I had to do an accent nail with the black.

If you notice the wrinkles, that was because I smoothed the strips toward the free edge, not from the center out. Lesson learned :)

The strips have a rounded side (to be used for finger nails) and a squared side (for toes). The set also comes with a small nail file, the gentle side for filing off the excess and the rough side for jeweled strips. It works well for the intended purposes.

The strips did have a faint plastic smell but faded quickly. I am supposed to just peel off the strips from the side of the nails once I want to remove them, easy enough. For now, I have the fancy Black Cat nails to show off at work lol.

UPDATE: I removed this on the fourth night as I couldn't wait to change my nails. Other than some tip wear, the Nail Dress stayed on very well on the nails but removal was easy too. Thumbs up!